February 2013 – February has been a wonderful month for our family. We have a new grandson! He and his mother are doing well. We have so much to be thankful for this February. This is the month of hearts so I decided to make something with hearts for my almost 2 year old granddaughter.
Counterchange smocking requires a grid. You can draw one yourself with a water soluble pen but that takes lots of time and measuring. You can use stripes which gives you the vertical part of the grid but then you have to draw the horizontal lines. Or, the easiest way, is to use a checked fabric. When you find a checked fabric, you are immediately ready to begin counterchange smocking, no prep necessary.
I had some fabric that was made for the “Red Hat Society” with red hats on a purple background. When I bought that fabric I also bought the companion fabric which happened to be a checked fabric. I used a template called “Love Stuff” made by Ann Hallay, who has created lots of counterchange patterns from smocking.

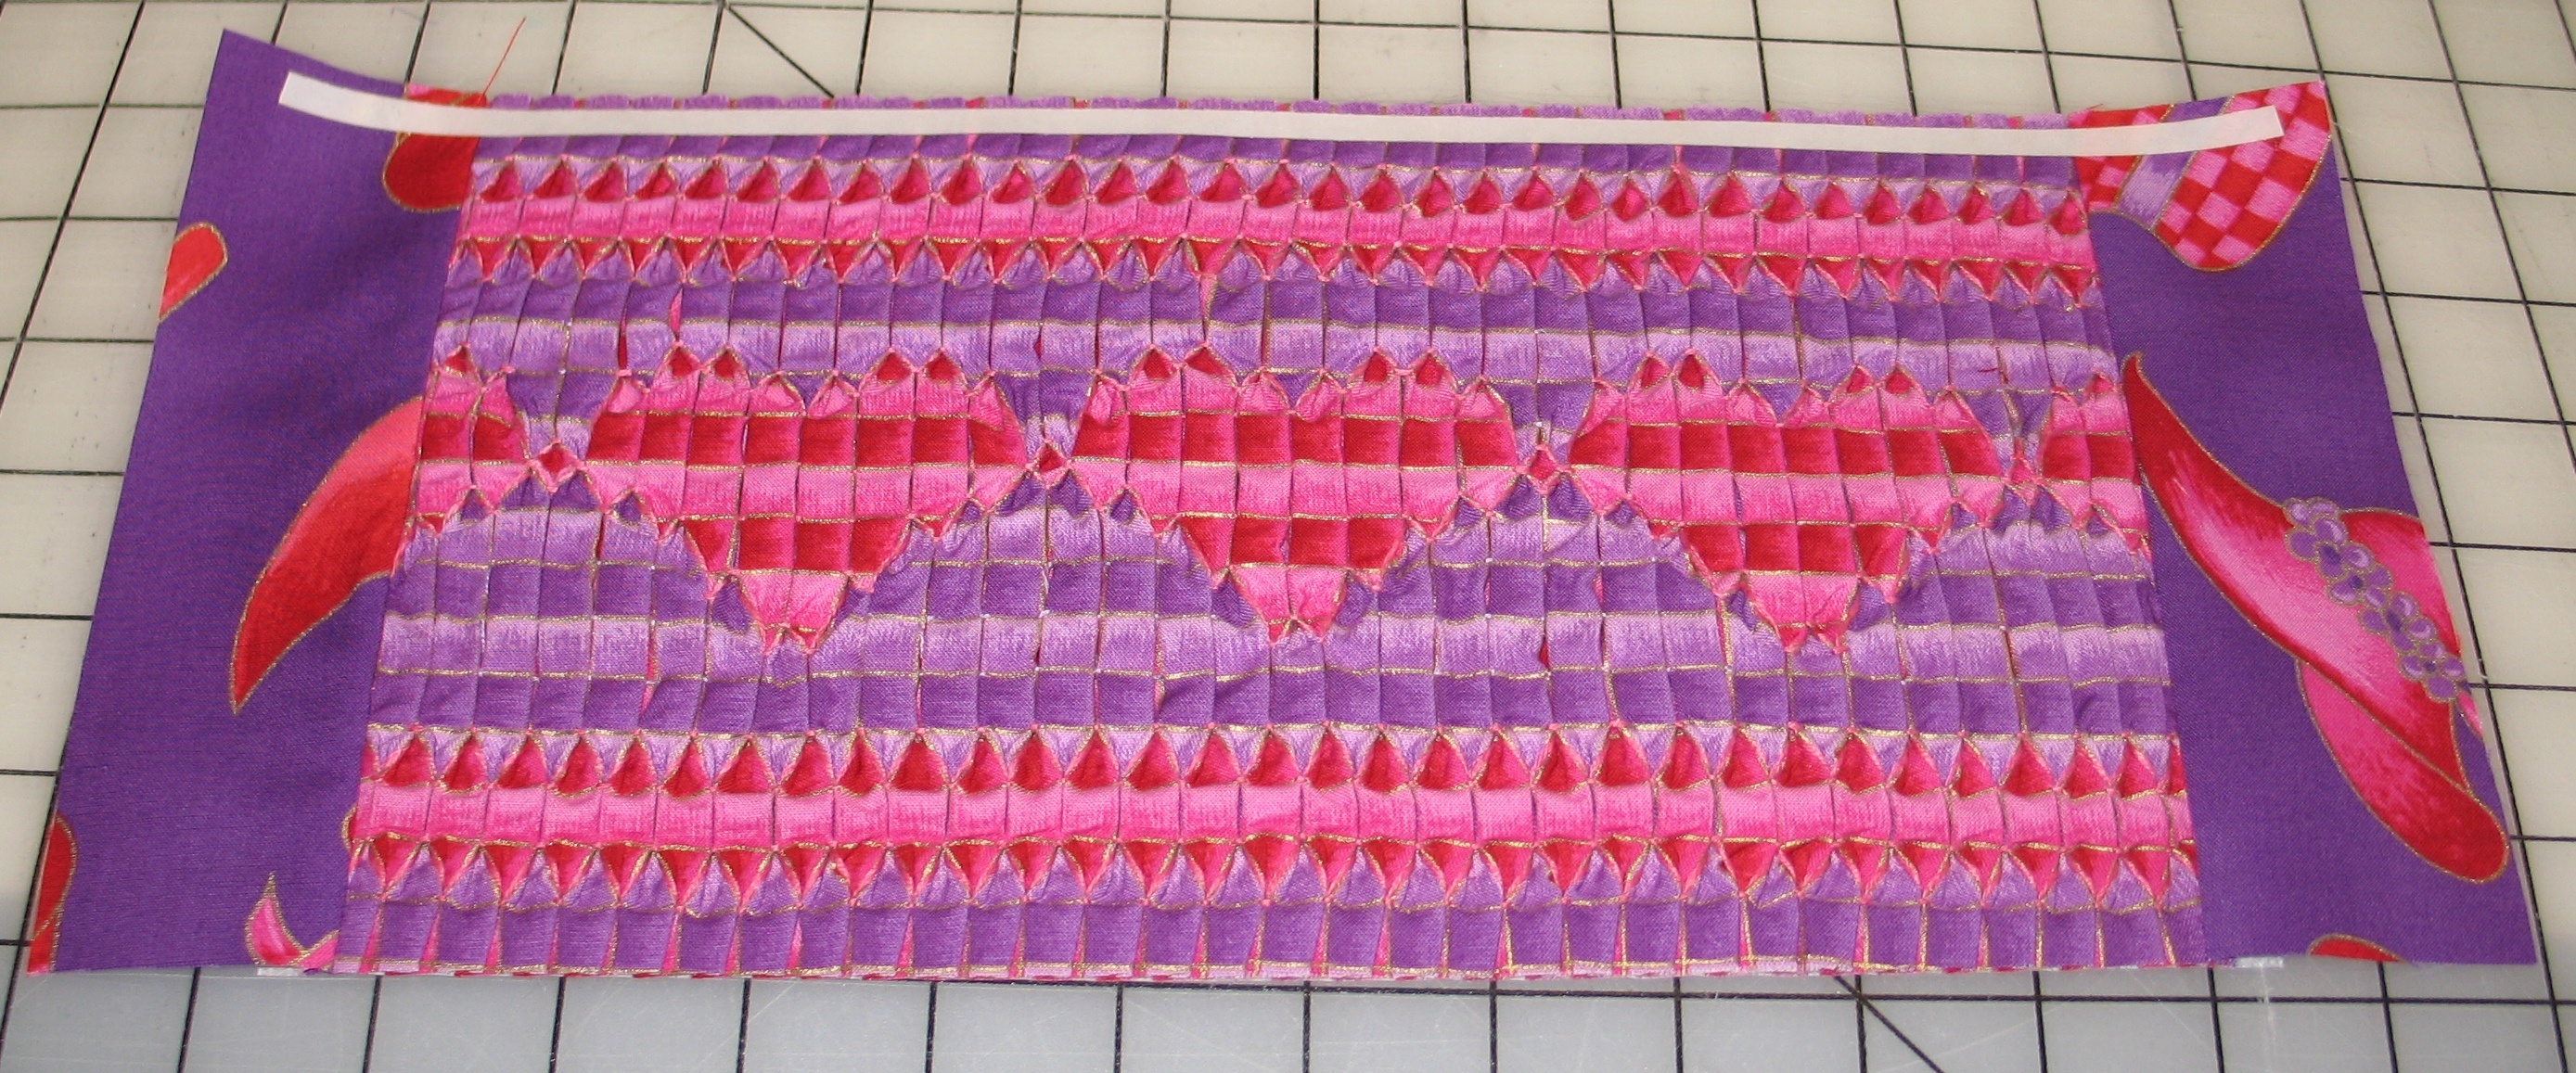
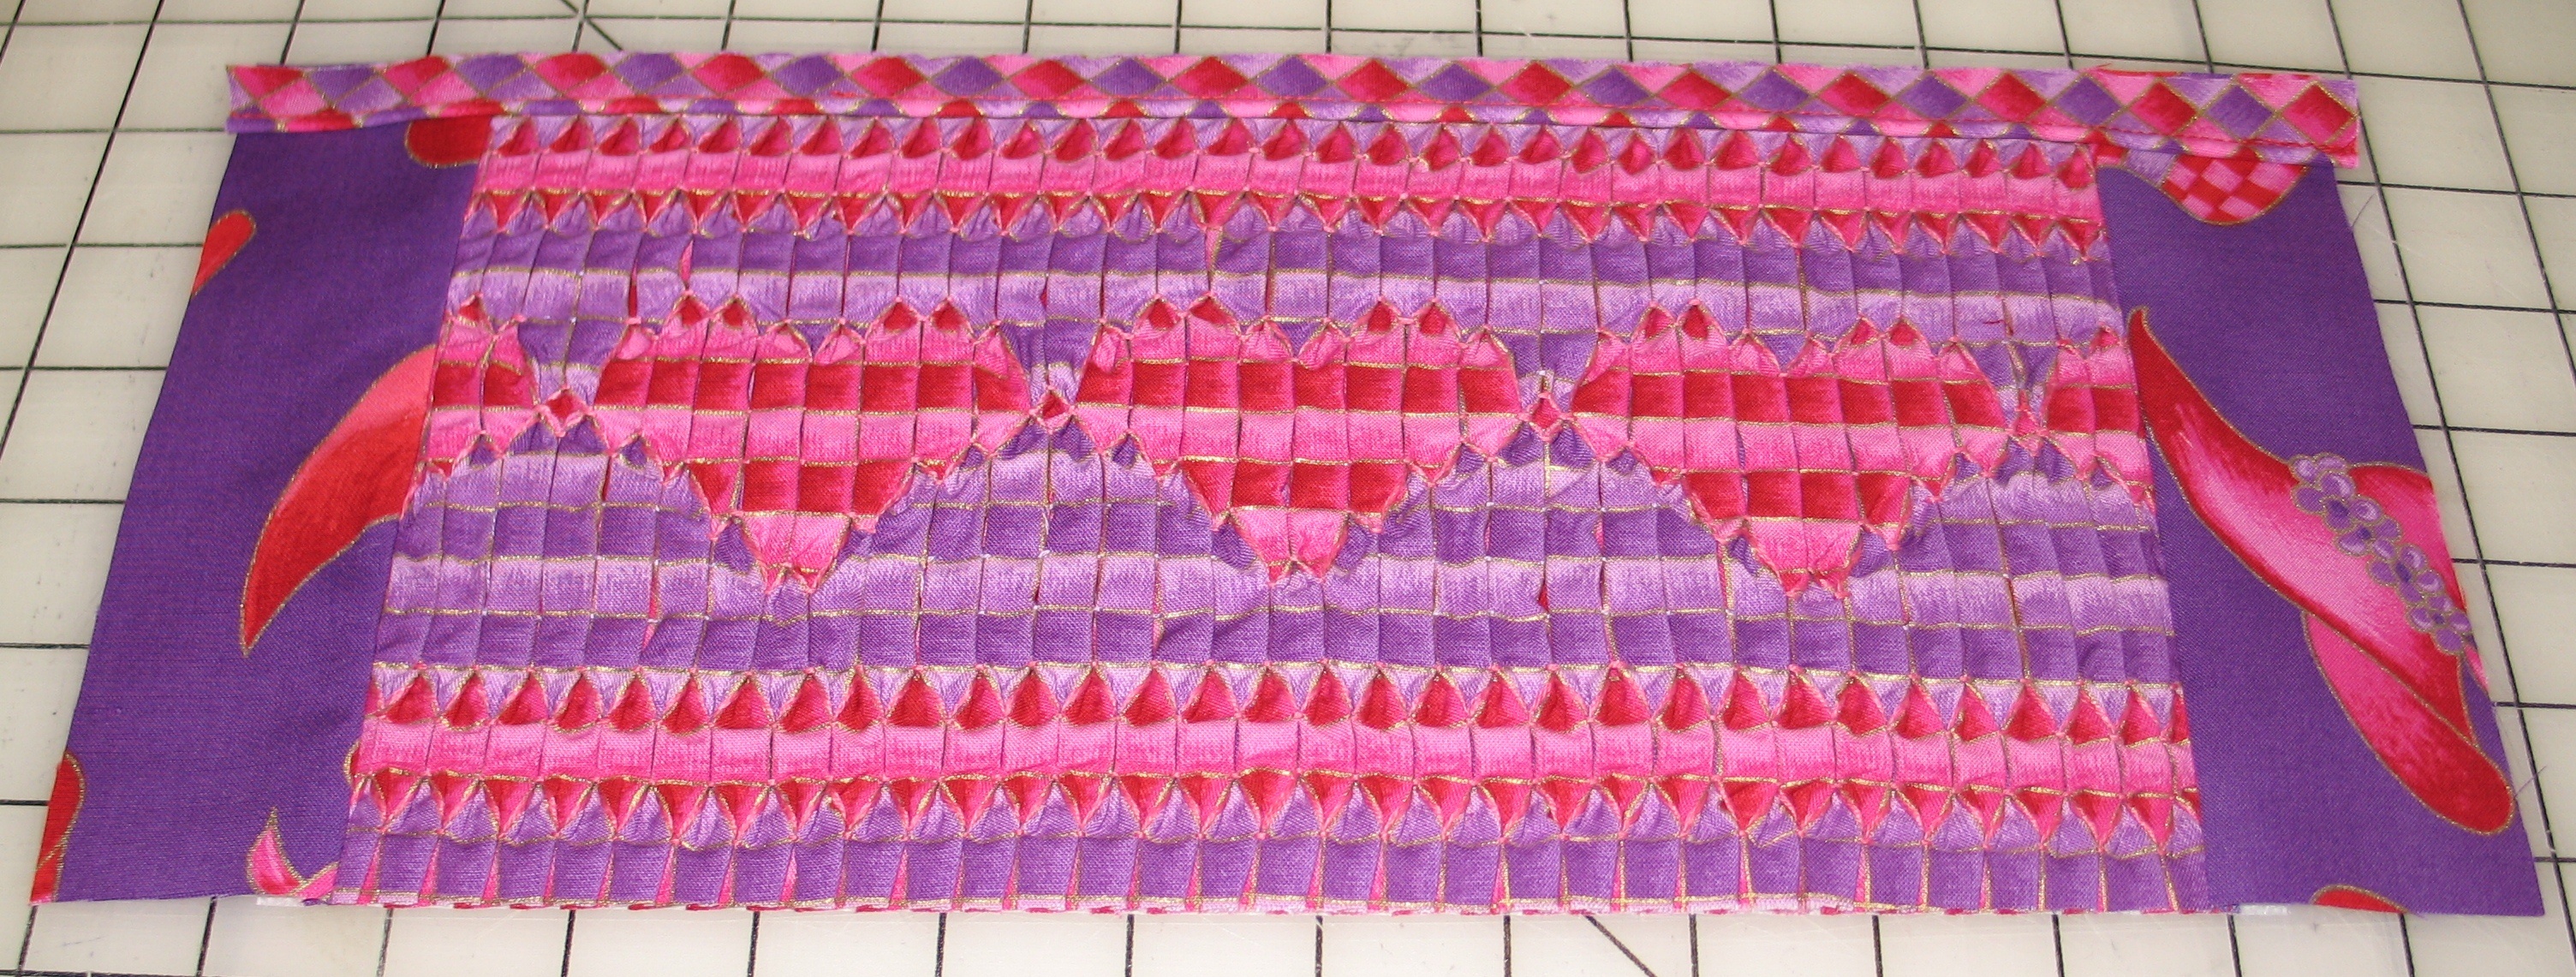
Here is the finished piece. If you have done English smocking you know that it covers approximately triple the width, but with counterchange smocking, it is about double and does not stretch.
 I didn’t make it wide enough to fit the width of the bodice piece so I centered the design and added extra fabric on each side. Then I used double sided clear tape (Wonder tape) and placed a strip just above where I wanted the piping sewed down.
I cut a bias strip of the checked fabric and made piping to sew at the top of the smocked insert piece. I pulled up the paper strip exposing the other side of the double sided tape and pressed the piping into the correct position.
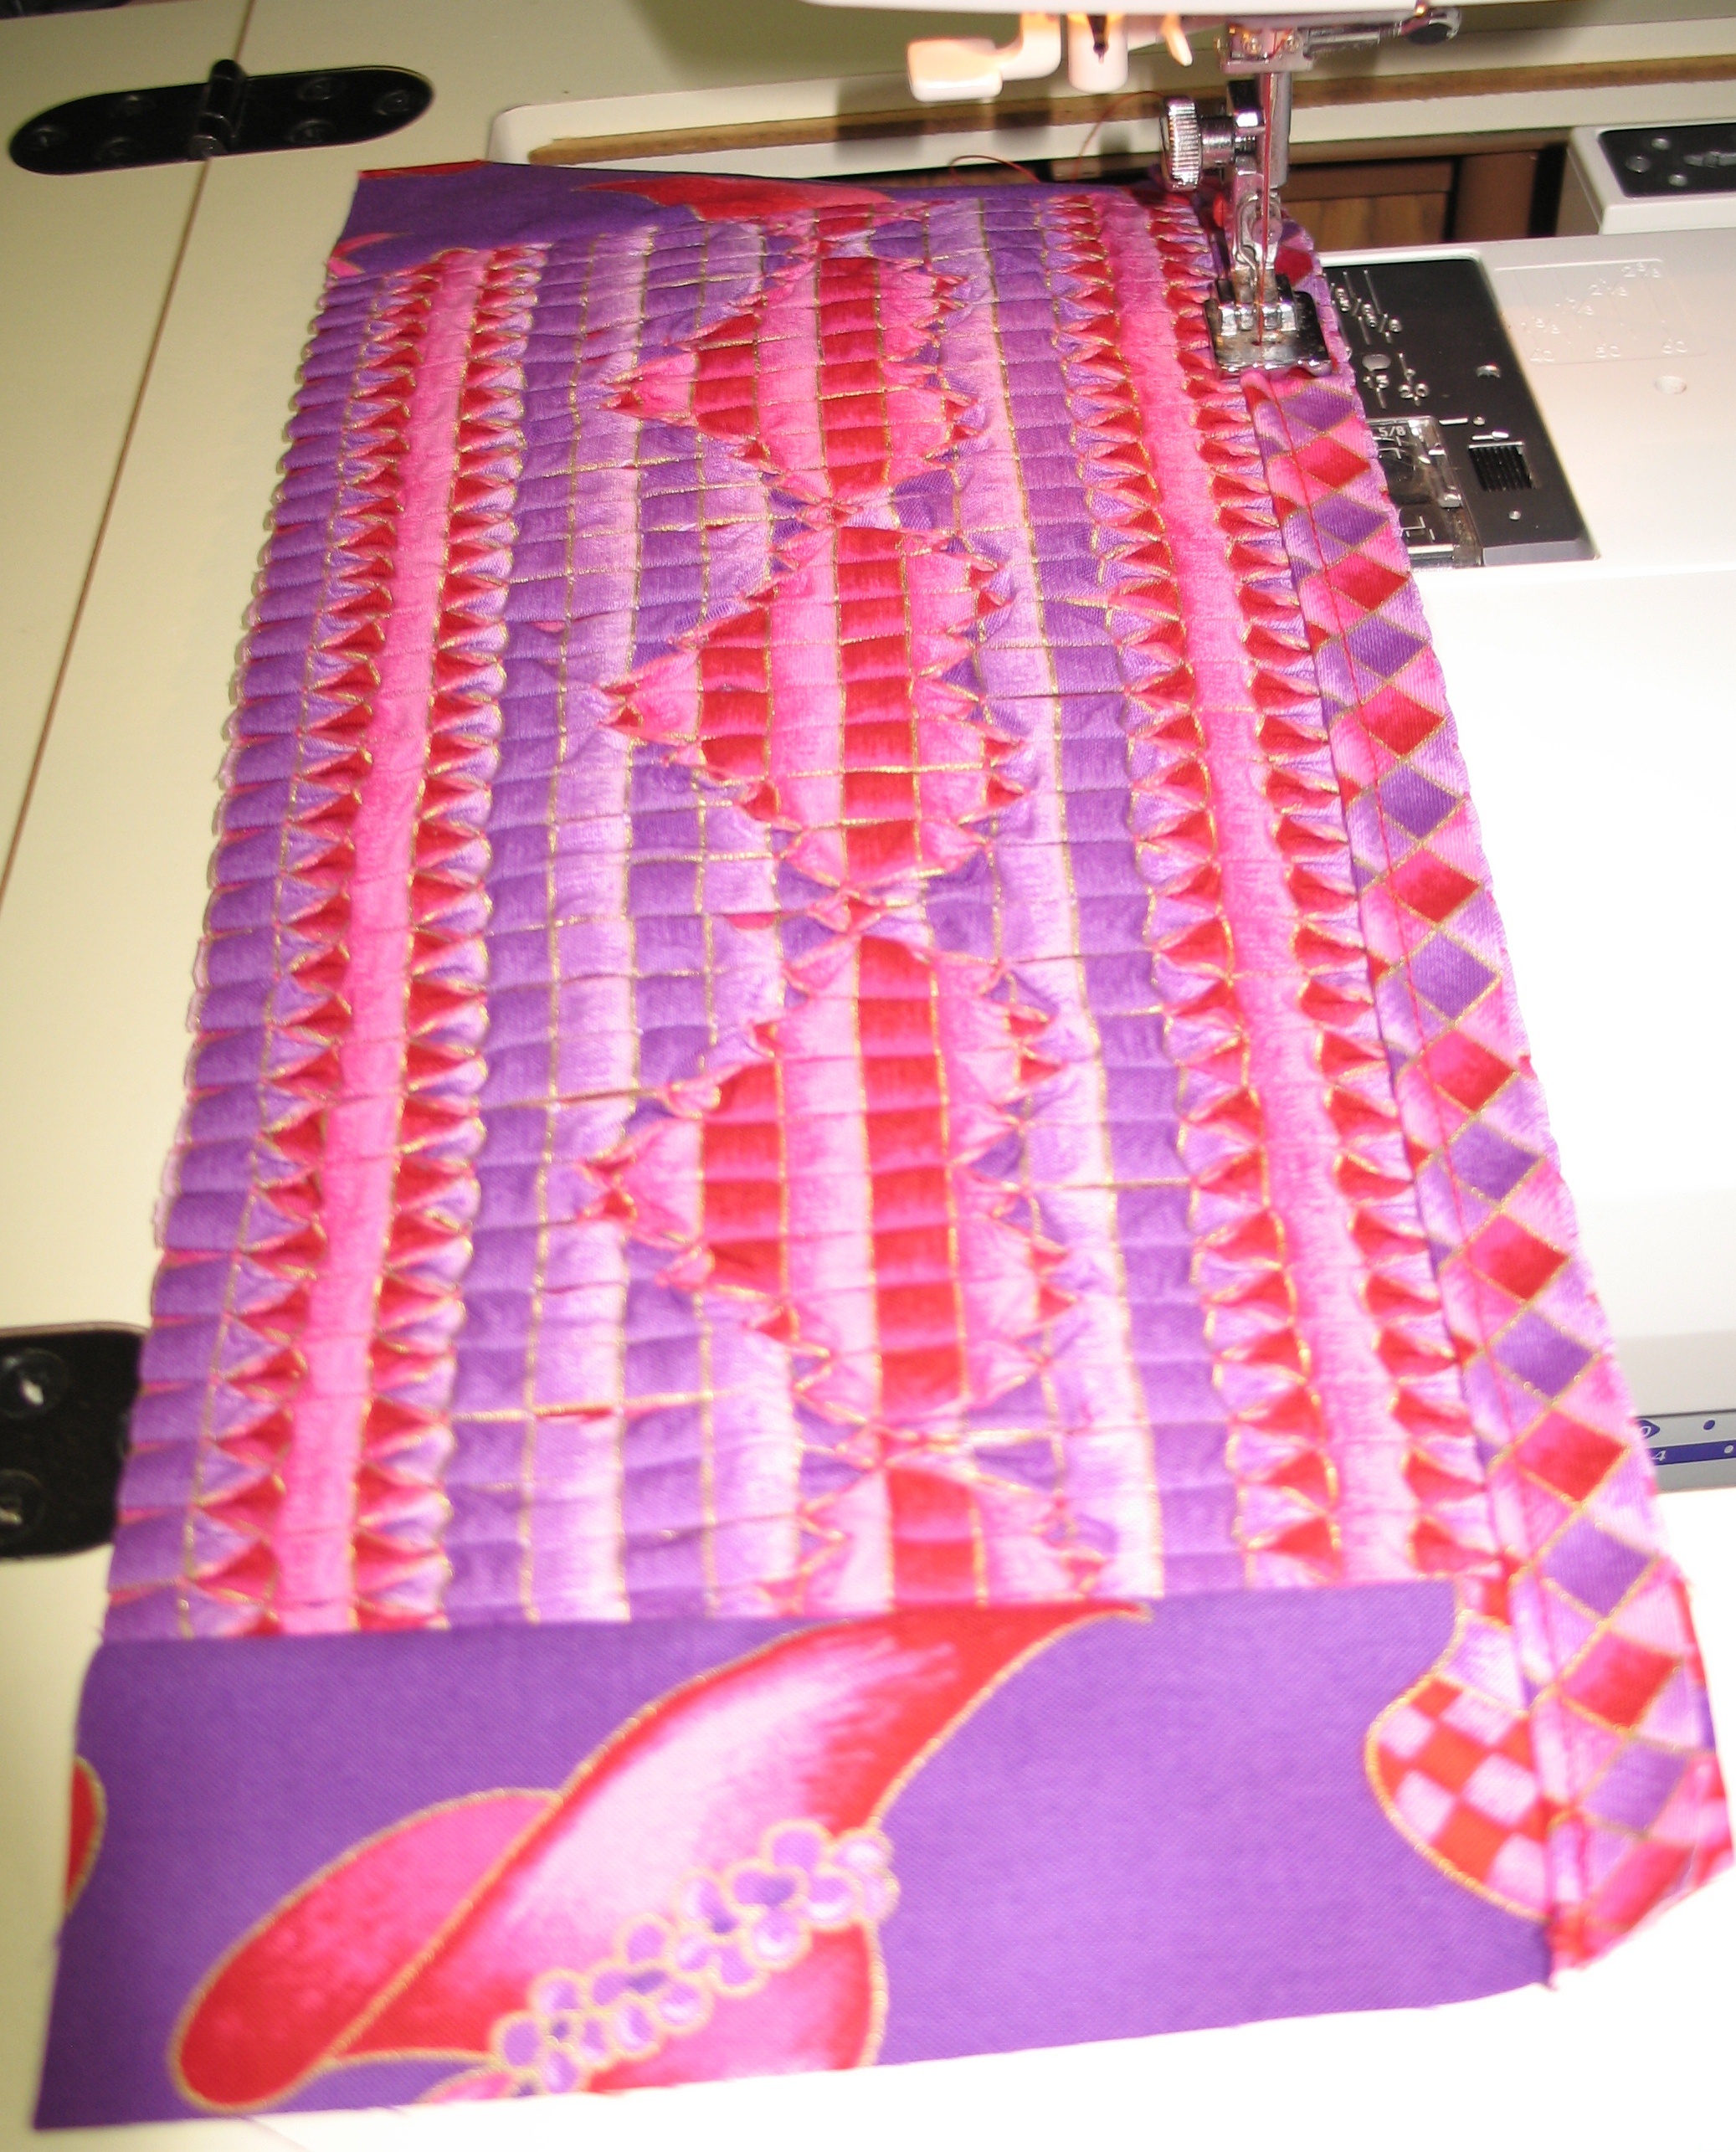
Then I took it to the sewing machine and used a piping foot to sew the piping in place. I love using the wonder tape because it keeps everything in place without pins and makes it easy to sew the piping down.
Next I added the top part of the bodice, put right sides together, and sewed it to the smocked piece to get a complete front bodice piece.

All I now needed to do was lay down the pattern piece and cut out the bottom half of the armhole.


Once the front bodice was complete and matched up with the pattern piece, I followed the rest of the pattern cutting out the back bodice pieces, sleeves, sashes, skirt, and skirt band. Here are pictures of the finished product.


 If you are interested in doing counterchange smocking, I would recommend getting the book that Ann Hallay wrote called “Counterchange” showing instructions on how to use this technique. This is how I first learned to do counterchange smocking and it is a technique that I love to use because it goes very quickly, much more quickly than English smocking, and requires no pleating.
Next month’s post will show how I made leather looking boots to fit American Girl dolls, and other 18 inch dolls. I will also have a pattern available in my “for sale” section. Thanks for reading.