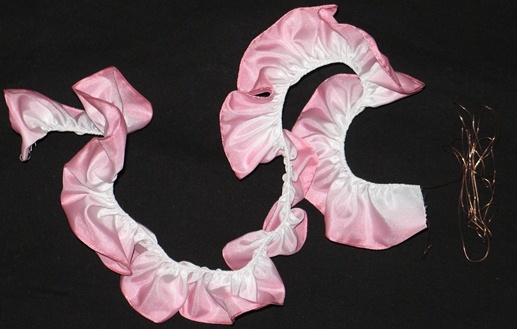
Wired ribbon flowers are fairly easy to make and have lots of uses. I mainly use them on hats and hairbands for my dolls but they can also be worn on jackets and pinned on lapels. I have taken pictures, step by step, as I created a pink rose. Some wired ribbon is solid in color and others have one color along one side and another along the opposite side. I chose a 1.5 inch wide wired ribbon that is pink on one side and white on the other. For this demonstration, I chose to gather the white side to the bottom so the pink side would used for the rose.
I took 60 inches of ribbon and pulled both wires out about an inch on one end and twisted them together and then rolled them up into a ball.
 Since I chose to make the rose pink, on the other end of the 60 inch piece, I pulled the wire out on the white side and gathered it up as tight as I could get it.
 Once it was pulled tight, I pulled about an inch of wire from the pink end. I twisted this wire around the wire pulled from the white side and then cut off the excess wire. You can keep that wire for another project that might require a thin piece of wire. I usually wrap it around an empty thread spool. Take a needle and thread it with the same color thread as the bottom of your flower. I use a long piece, about 2 yards, and double it and knot the end. You will need most of this to stitch your flower together.
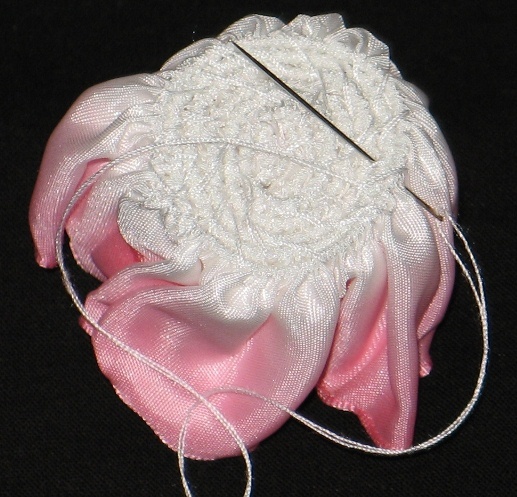
Decide which end you want to be the center of your rose. It doesn’t matter, just pick one. Start coiling the gathered edge around the center. Take your needle and thread and pull it through just below the wire, through all thicknesses. Take several stitches to anchor the center, then keep turning and coiling the gathered edge (white) keeping the flower flat as the center has a tendency to try and telescope away from you. I find that holding the ribbon with my fingers curled around the outside, helps me keep the gathered edge flat with each round lying side by side with the previous round.
Once you reach the end, curl it in and take several stitches to anchor it to that last round of the wired gathered edge. Cut your remaining thread away. Here is a picture of how the bottom of the rose should look when you have stitched all the way around, keeping the center even with the outside rounds of ribbon. You can see how I have held it in my hand to keep the pink side all bunched together.
Now the magic begins when you flip your flower over and begin peeling outward. Start with the outside layer of ribbon and work all the way to the center. Adjust your rose until you get it like you want it. Wasn’t that fun, and easy? The bottom of the flower can be sewn or glued to your project. You can cut a matching felt circle and glue this to the back of your rose and then attach a pin so that the flower can be removed.
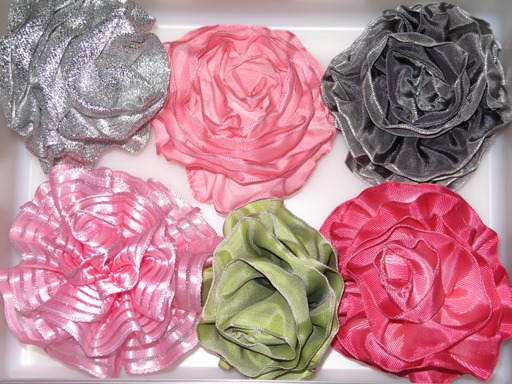
It’s nice to keep a supply on hand already made up for quick use:
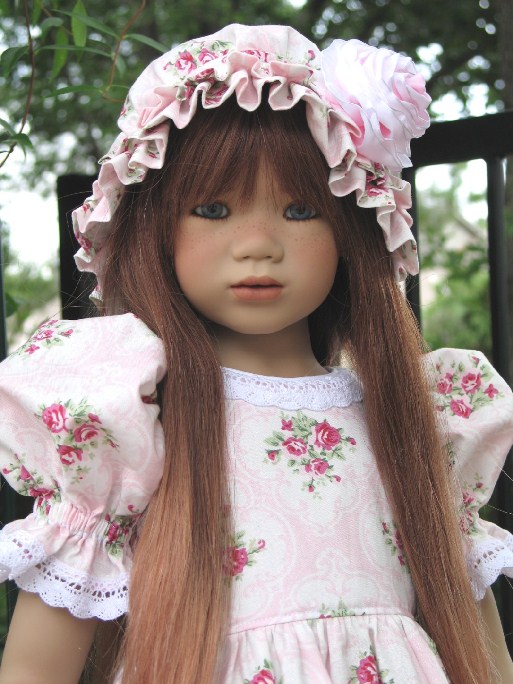
I generally sew my flowers to hats or hairbands. Here are some examples of flowers I have made for my dolls.


